Preparing your home for colder weather is a process that can make even the most responsible homeowner cringe. Thankfully, following some helpful tips can save you a lot of time, energy and money. Make the transition a bit easier as fall turns into winter, and the cold days of January and February set in.

Getting a head start
At the end of any warm season, preparing your home for winter is probably the last thing you want to do. However, you can always begin light to make an easier transition. By undertaking a number of small projects, you’ll be making winter more comfortable.
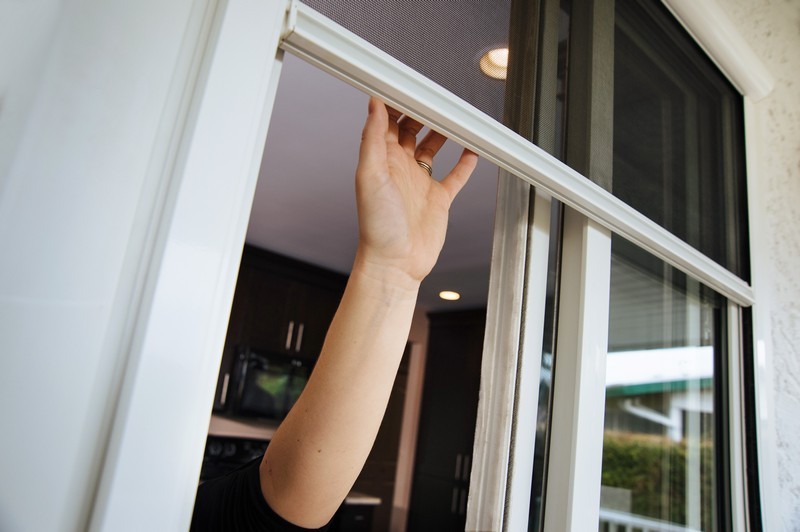
You’ll want to start by looking for outdoor improvements you can make while the weather is still warm. For example, clear space in your garage for a place to store summer-only amenities. Begin dismantling the tables and chairs that adorn your outdoor living spaces, clean and store any fixed door or window screens, and wash out your gutters. (Of course, with retractable screens that’s one less job to do!)
Maintaining your furnace or boiler, insulating your ducts and cleaning air filters are also crucial for getting ahead in the winter game. They’re usually a relatively cheap measure to take!
Winterizing = energy and cost savings
Energy and financial savings are two benefits of preparing your home for upcoming seasons. Remember to check for and plug drafty windows, doors or vents. This step will save you money on your utility bills throughout the winter while making your home more efficient and environmentally friendly. If you’re still not convinced, imagine reducing your home’s energy use by 5 to 30 percent! It’s entirely worthwhile!
In addition, there are several products that you can use to accomplish such tasks. Felt, foam, rubber or tape, for example, are effective for weather-stripping your doors and windows all year-round. Another technique you can employ to make your home more efficient throughout the winter is plastic window insulation. Imagine saran wrapping your windows, only you’d be using self-adhesive, heavy-duty plastic wrap or shrink film. What makes this technique great is that it attaches with the use of a hair dryer. It’s that easy!
Safety concerns
The onset of winter doesn’t just bring icy weather and slippery roads, it can also lead to household danger. You’ll need to closely monitor any products you use for heating you or your home. For instance, an electric blanket left running for too long could start a fire.
Icicles and slippery walkways and driveways can present other dangerous winter obstacles. Before it gets too deep into the end of the year, you’ll want to stock up on salt or cat litter that you can use to improve traction, and make sure to store a shovel in an easy to get to place to use for removing icicles.
Prioritizing your tasks
The best part about winterizing your home is the stuff you don’t have to do. Depending on how you’ve designed your living space, you might be able to cross a number of tasks of your list before you even get started.
You could have retractable screens that simply need to be retracted into their housings, or if you’ve insulated your home from drafts to save on air conditioning during the summer, the same techniques and products can be used (or might already be in place) for fall and winter. If you plan properly, and set aside a little time each week, you can have your home prepared for the next season with minimum hassle.